Raspberry Pi - OLED
Diese Anleitung zeigt Ihnen, wie Sie Raspberry Pi mit einem OLED-Display verwenden. Im Detail werden wir lernen:
- Wie Sie ein OLED-Display mit Raspberry Pi verbinden.
- Wie Sie Raspberry Pi programmieren, um Text und Zahlen auf OLED anzuzeigen.
- Wie Sie Raspberry Pi programmieren, um Text und Zahlen vertikal und horizontal zentriert auf OLED auszurichten.
- Wie Sie Raspberry Pi programmieren, um auf OLED zu zeichnen.
- Wie Sie Raspberry Pi programmieren, um ein Bild auf OLED anzuzeigen.
Benötigte Hardware
Oder Sie können die folgenden Kits kaufen:
| 1 | × | DIYables Sensor-Kit (18 Sensoren/Displays) |
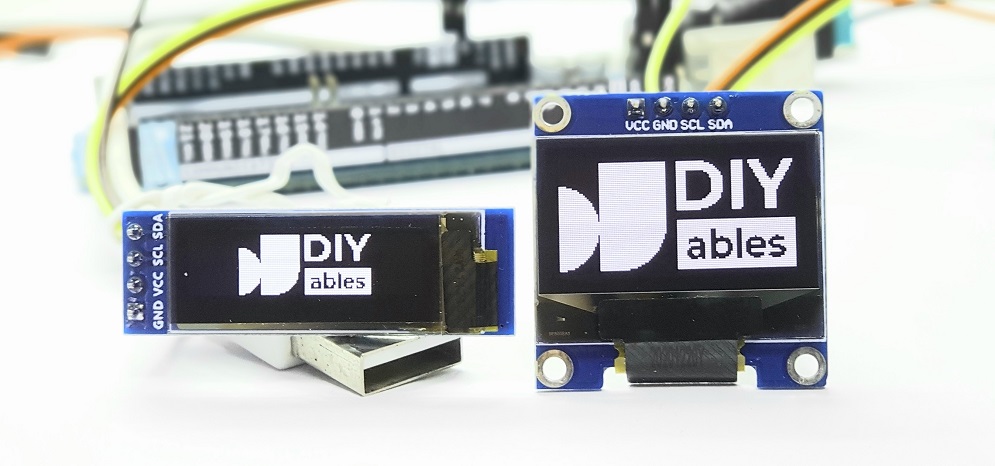
Über OLED-Displays
Es gibt verschiedene Arten von OLED-Displays verfügbar. Das am häufigsten verwendete OLED mit Raspberry Pi ist das SSD1306 I2C OLED 128x64 und 128x32 Display.
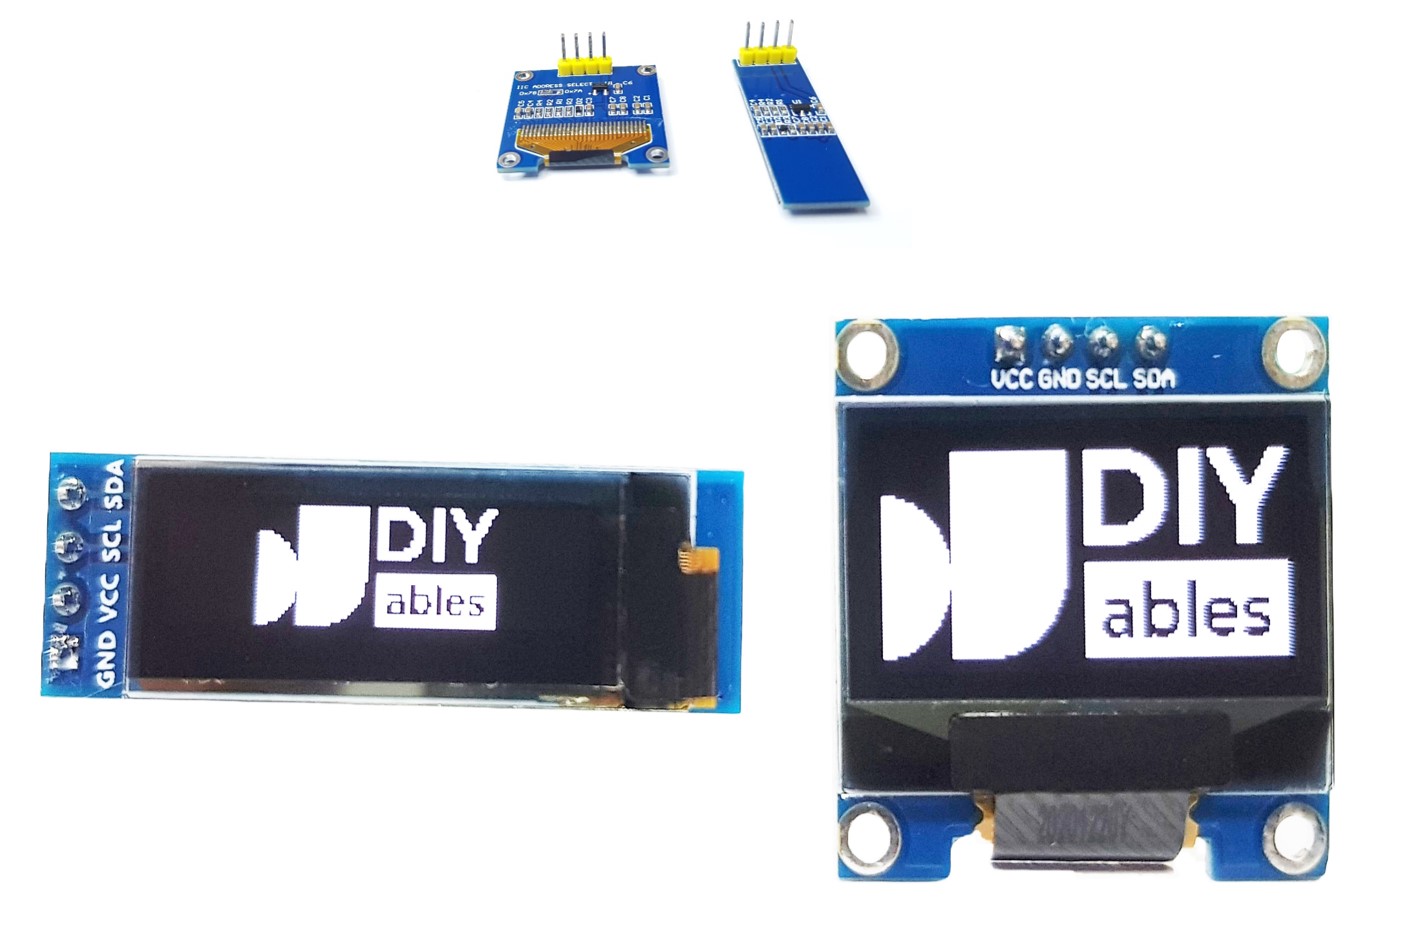
I2C OLED Display Pinout
- GND-Pin: sollte mit der Masse des Raspberry Pi verbunden werden.
- VCC-Pin: ist die Stromversorgung für das Display, die mit dem 5-Volt-Pin des Raspberry Pi verbunden werden sollte.
- SCL-Pin: ist ein serieller Takt-Pin für die I2C-Schnittstelle.
- SDA-Pin: ist ein serieller Daten-Pin für die I2C-Schnittstelle.
※ Notiz:
- Die Pins eines OLED-Moduls können je nach Hersteller und Modultyp unterschiedlich angeordnet sein. Es ist UNBEDINGT erforderlich, sich immer auf die auf dem OLED-Modul gedruckten Beschriftungen zu beziehen. Seien Sie aufmerksam!
- Diese Anleitung verwendet ein OLED-Display, das den SSD1306 I2C-Treiber nutzt. Wir haben es mit dem OLED-Display von DIYables getestet und es funktioniert einwandfrei.
Verdrahtungsdiagramm
- Verdrahtungsdiagramm zwischen Raspberry Pi und OLED 128x64
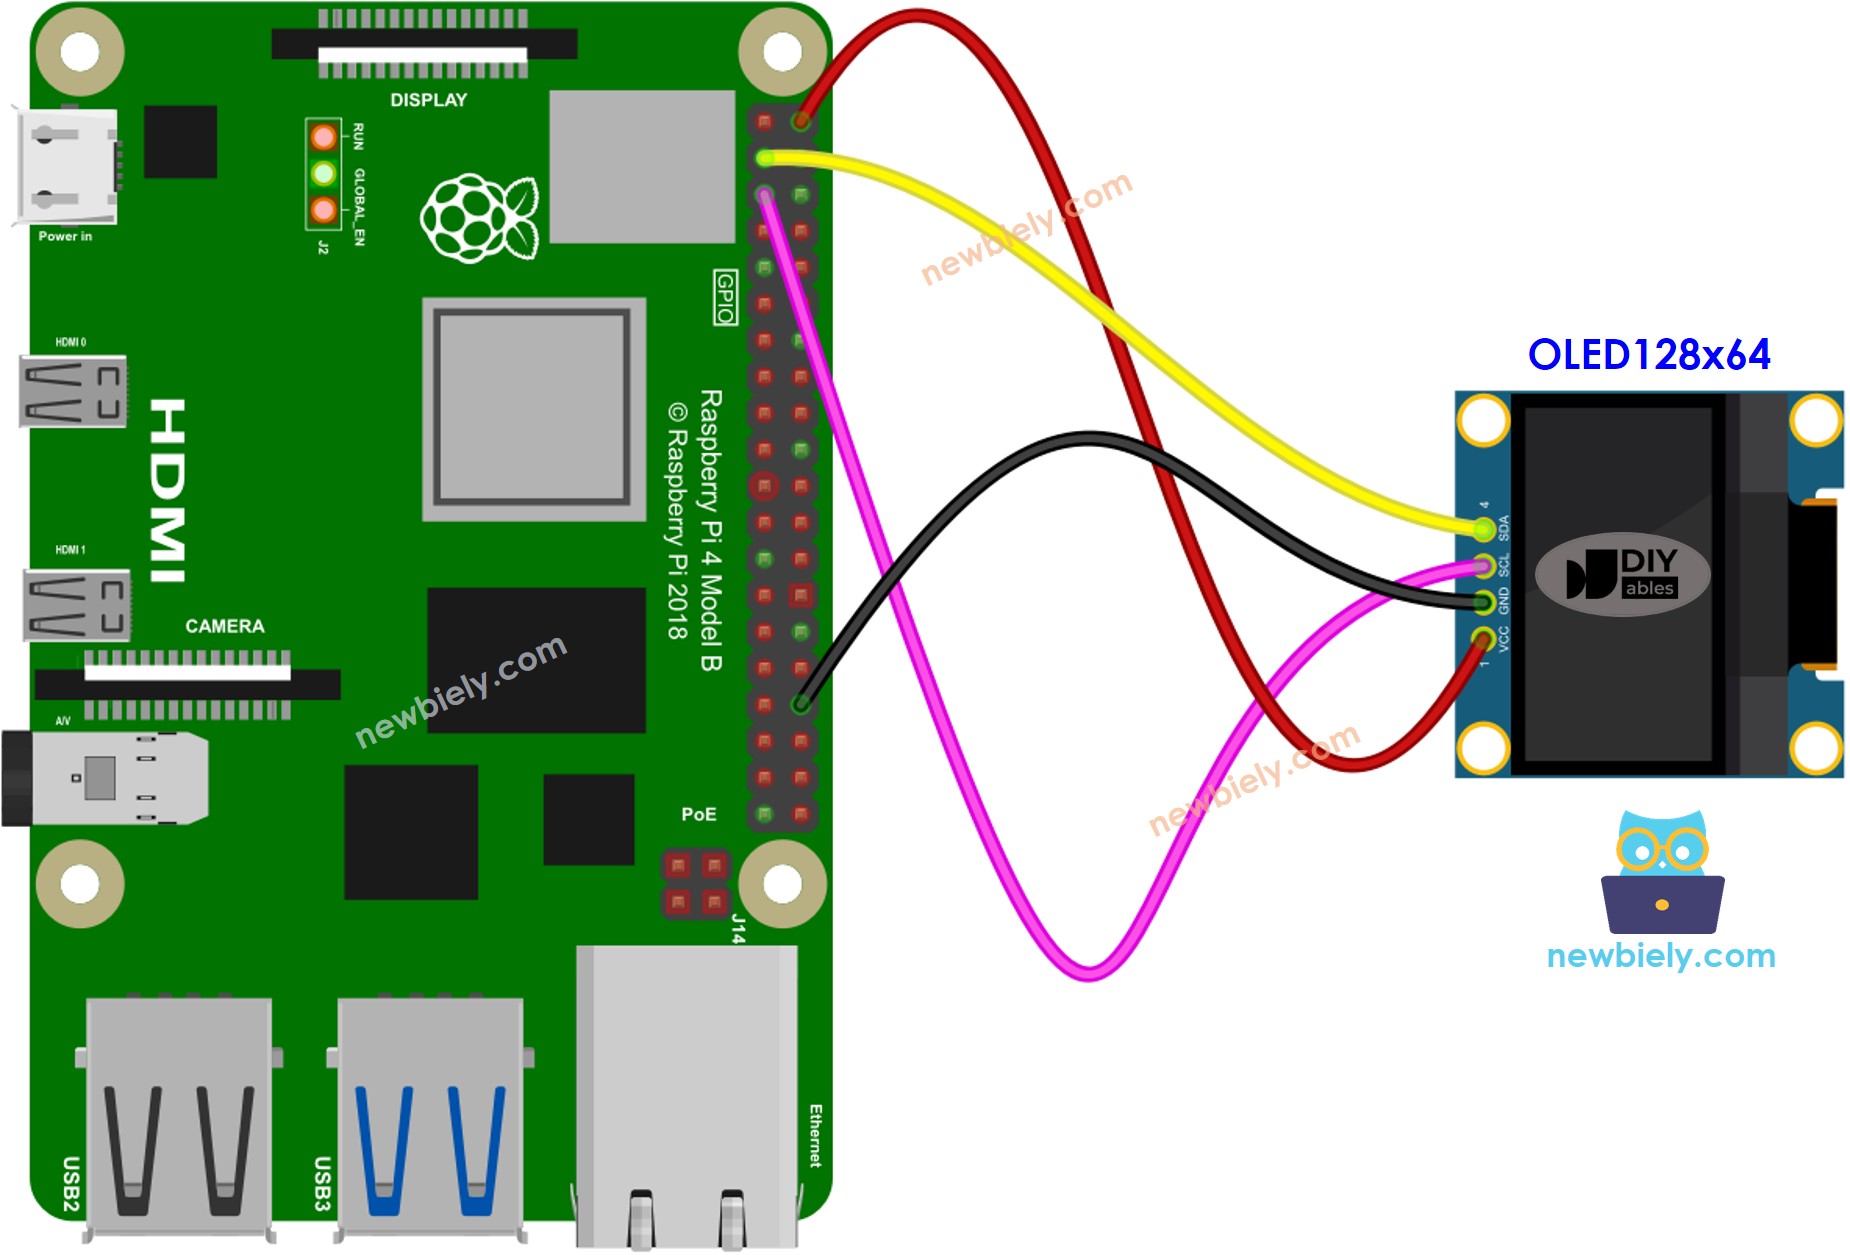
Dieses Bild wurde mit Fritzing erstellt. Klicken Sie, um das Bild zu vergrößern.
- Verdrahtungsdiagramm zwischen Raspberry Pi und OLED 128x32
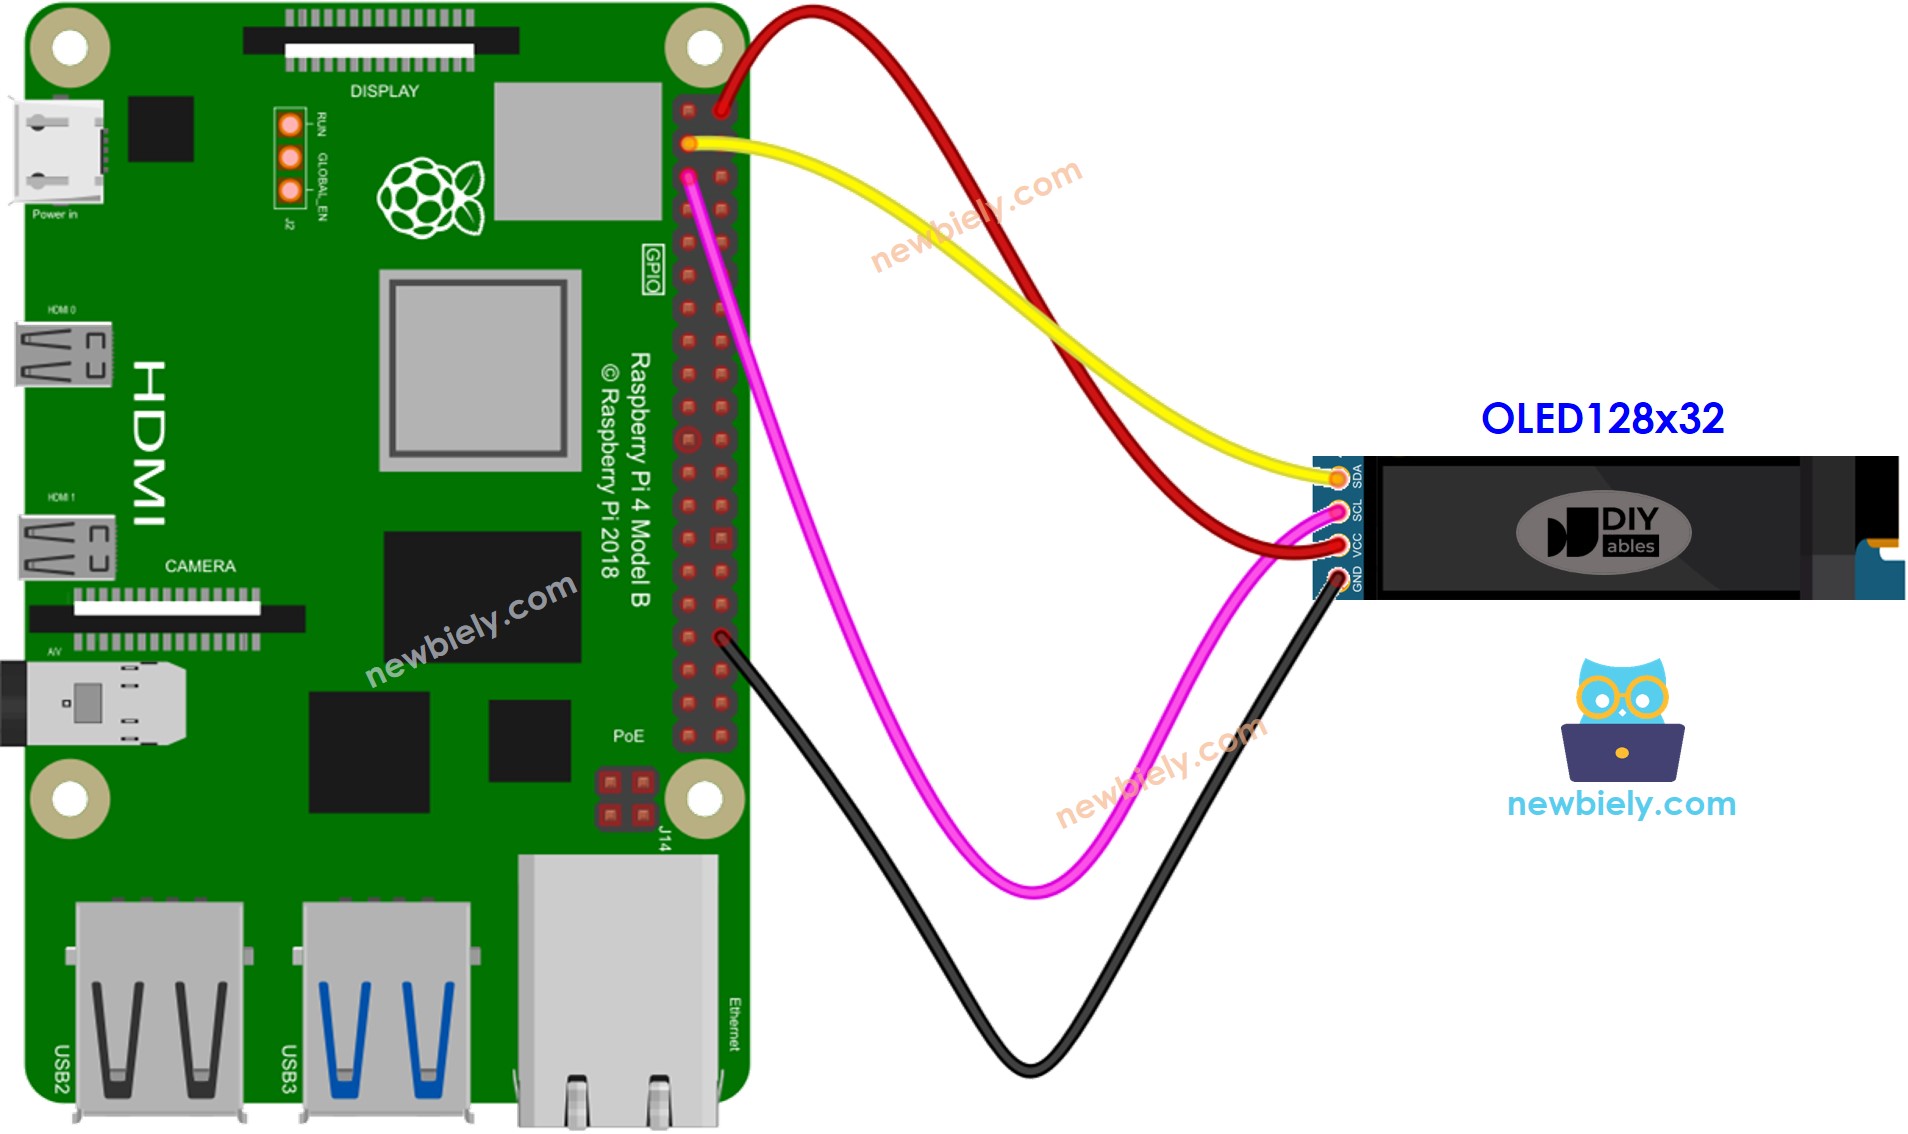
Dieses Bild wurde mit Fritzing erstellt. Klicken Sie, um das Bild zu vergrößern.
Um Ihren Verdrahtungsaufbau zu vereinfachen und zu organisieren, empfehlen wir die Verwendung eines Schraubklemmenblock-Shields für Raspberry Pi. Dieses Shield gewährleistet sicherere und besser verwaltbare Verbindungen, wie unten gezeigt:
Die Verdrahtungstabelle zwischen Raspberry Pi und OLED-Display:
| OLED Modul | Raspberry Pi |
|---|---|
| Vin | 5V |
| GND | GND |
| SDA | GPIO2 (Pin 3) |
| SCL | GPIO3 (Pin 5) |
Raspberry Pi Code - Text auf OLED anzeigen
Schnelle Schritte
- Stellen Sie sicher, dass Sie Raspbian oder ein anderes Raspberry Pi-kompatibles Betriebssystem auf Ihrem Pi installiert haben.
- Stellen Sie sicher, dass Ihr Raspberry Pi mit demselben lokalen Netzwerk wie Ihr PC verbunden ist.
- Stellen Sie sicher, dass Ihr Raspberry Pi mit dem Internet verbunden ist, falls Sie einige Bibliotheken installieren müssen.
- Falls Sie Raspberry Pi zum ersten Mal verwenden, schauen Sie sich die Einrichtung des Raspberry Pi an.
- Verbinden Sie Ihren PC über SSH mit dem Raspberry Pi, indem Sie den integrierten SSH-Client unter Linux und macOS oder PuTTY unter Windows verwenden. Siehe wie Sie Ihren PC über SSH mit Raspberry Pi verbinden.
- Stellen Sie sicher, dass Sie die RPi.GPIO-Bibliothek installiert haben. Falls nicht, installieren Sie sie mit dem folgenden Befehl:
- Bevor wir das OLED-Display mit einem Raspberry Pi verwenden können, müssen wir die I2C-Schnittstelle auf dem Raspberry Pi aktivieren. Siehe Wie man die I2C-Schnittstelle auf Raspberry Pi aktiviert
- Installieren Sie die OLED-Bibliothek mit dem folgenden Befehl:
- Erstellen Sie eine Python-Script-Datei oled.py und fügen Sie den folgenden Code hinzu:
- Speichern Sie die Datei und führen Sie das Python-Script aus, indem Sie den folgenden Befehl im Terminal ausführen:
- Überprüfen Sie das OLED-Display.
Das Script läuft in einer Endlosschleife kontinuierlich, bis Sie Ctrl + C im Terminal drücken.
Raspberry Pi Code – Bild anzeigen
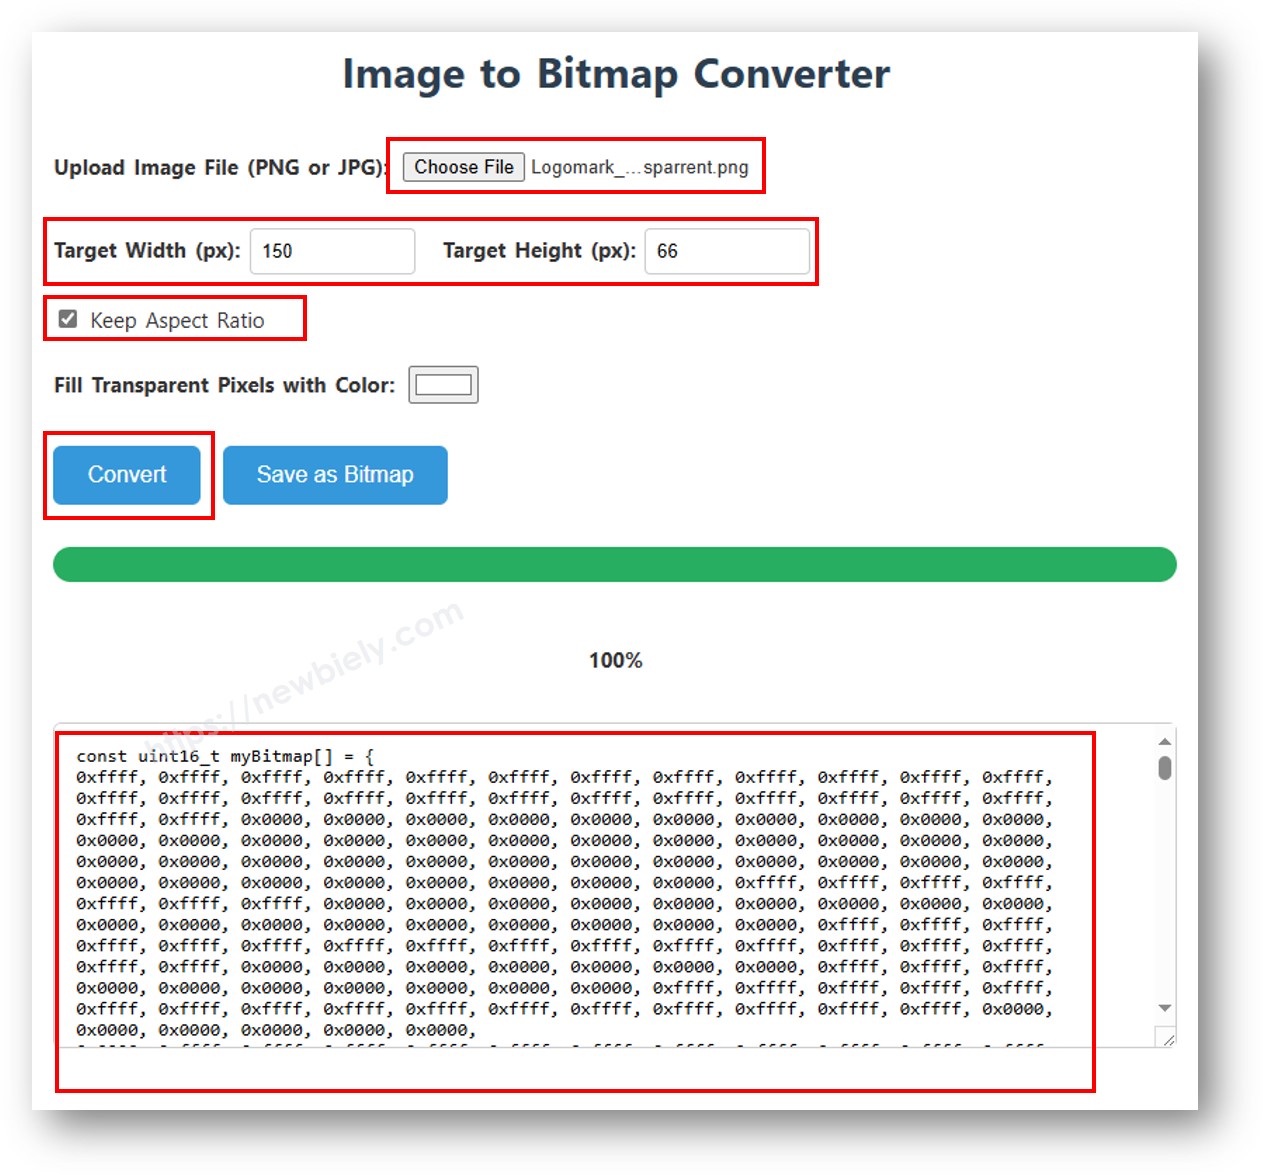
Um ein Bild auf OLED anzuzeigen, müssen wir es zuerst (unabhängig vom Format) in ein Bitmap-Array konvertieren. Dies kann mit diesem Online-Tool durchgeführt werden. Bitte beziehen Sie sich auf das untenstehende Bild für Anweisungen zur Durchführung. Ich habe bereits das Raspberry Pi-Symbol in ein Bitmap-Array konvertiert.
Sobald die Konvertierung abgeschlossen ist, nehmen Sie den Array-Code und ersetzen Sie den vorhandenen ArduinoIcon-Array-Code im folgenden Codeschnipsel.
※ Notiz:
- Die Größe des Bildes sollte die Größe des Bildschirms nicht überschreiten.
- Wenn Sie den Code für ein OLED 128x32 verwenden möchten, müssen Sie die Bildgröße ändern und die Breiten- und Höhenparameter in der oled.drawBitmap();-Funktion anpassen.