ESP32 - OLED
Dieses Tutorial zeigt Ihnen, wie Sie den ESP32 verwenden, um Daten auf dem OLED-Display anzuzeigen. Im Detail werden wir lernen, wie man Zeichen und Zahlen darstellt, Linien und Formen zeichnet und ein Bild auf dem OLED-Display ausgibt.
Erforderliche Hardware
Oder Sie können die folgenden Kits kaufen:
| 1 | × | DIYables ESP32 Starter-Kit (ESP32 enthalten) | |
| 1 | × | DIYables Sensor-Kit (18 Sensoren/Displays) |
Kaufhinweis: Wenn Sie ein größeres OLED-Display möchten, verwenden Sie das 2.42 inch OLED Display 128x64.
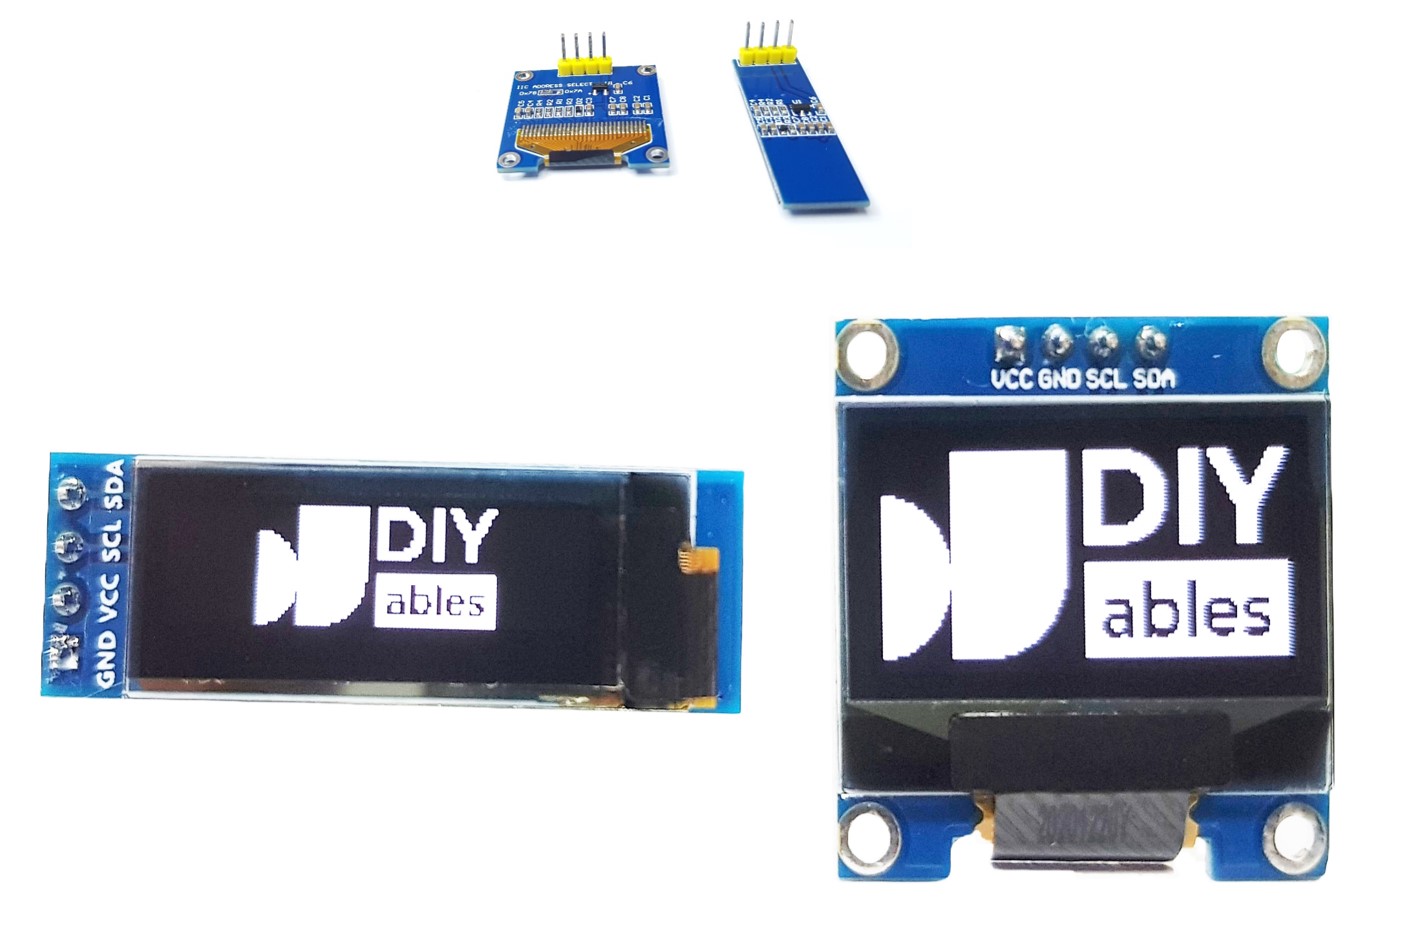
Über OLED-Display
Es gibt verschiedene Arten von OLED-Displays, die mit dem ESP32 arbeiten können. Sie unterscheiden sich voneinander in der Kommunikationsschnittstelle (I2C, SPI), Farben (weiß, blau, zweifarbig...) und Größen (128×64, 128×32...).
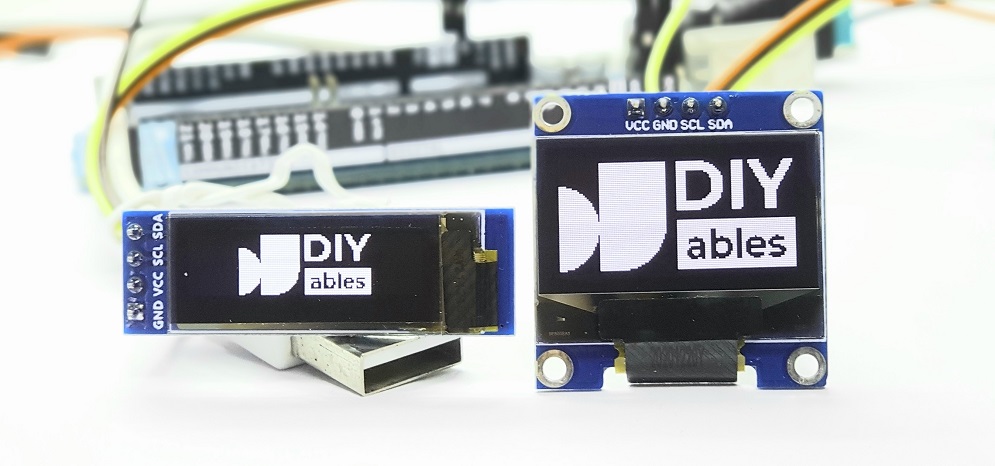
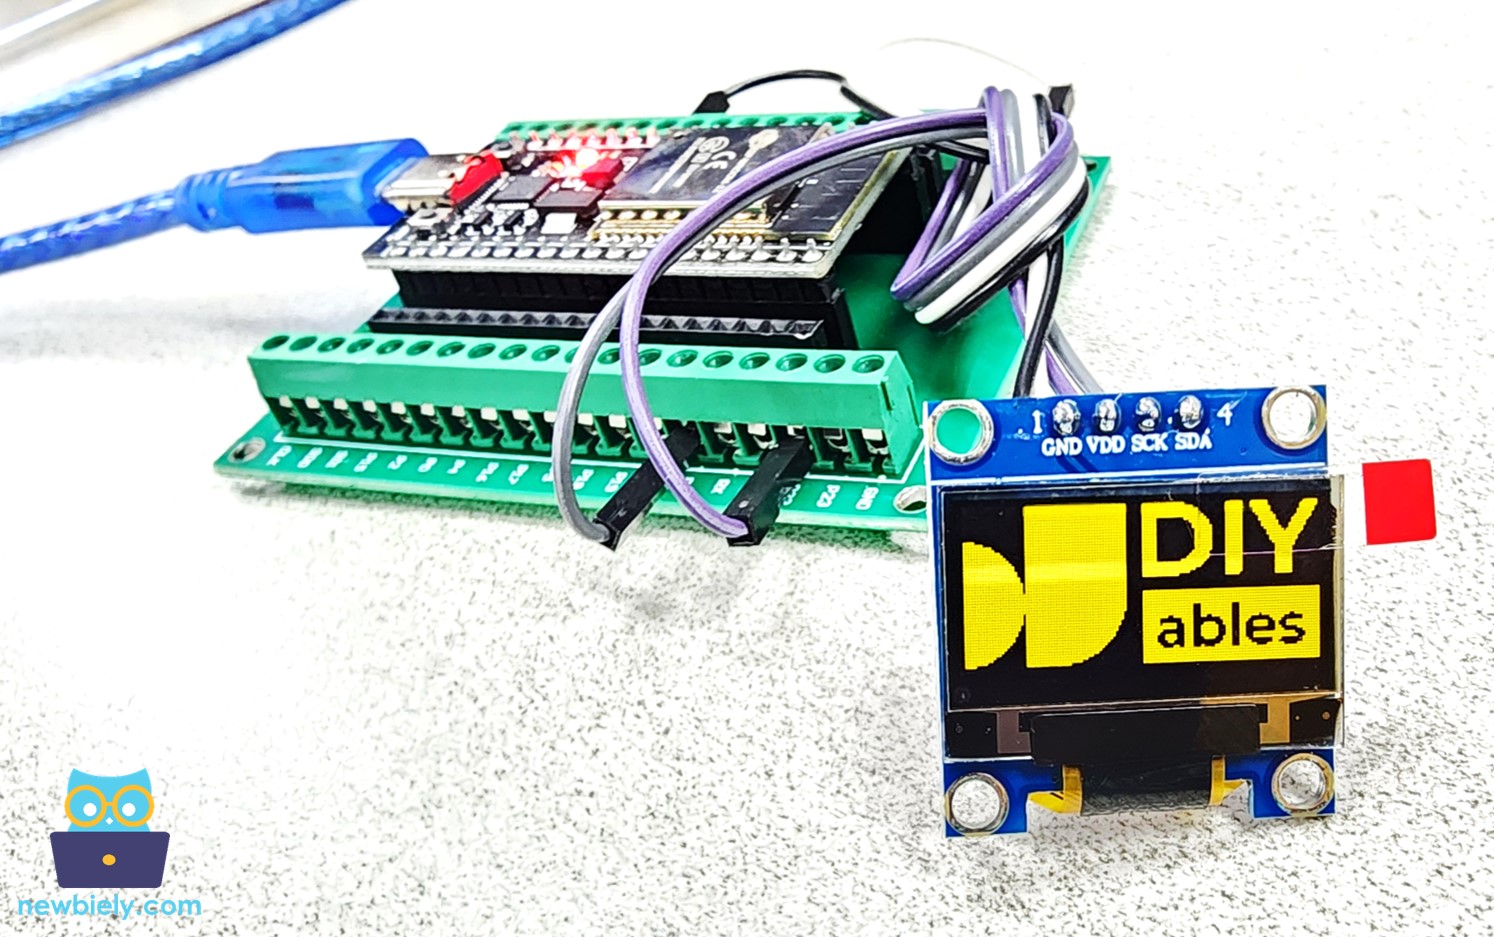
In diesem Tutorial wird ein SSD1306 128×64 I2C OLED-Display verwendet.
I2C-OLED-Display-Pinbelegung
I2C-OLED-Display enthält vier Pins:
- GND-Pin: soll mit der Masse des ESP32 verbunden werden
- VCC-Pin: soll mit dem 5-Volt-Pin des ESP32 verbunden werden.
- SCL-Pin: ist ein I2C-Taktpin.
- SDA-Pin: ist ein I2C-Datenpin.
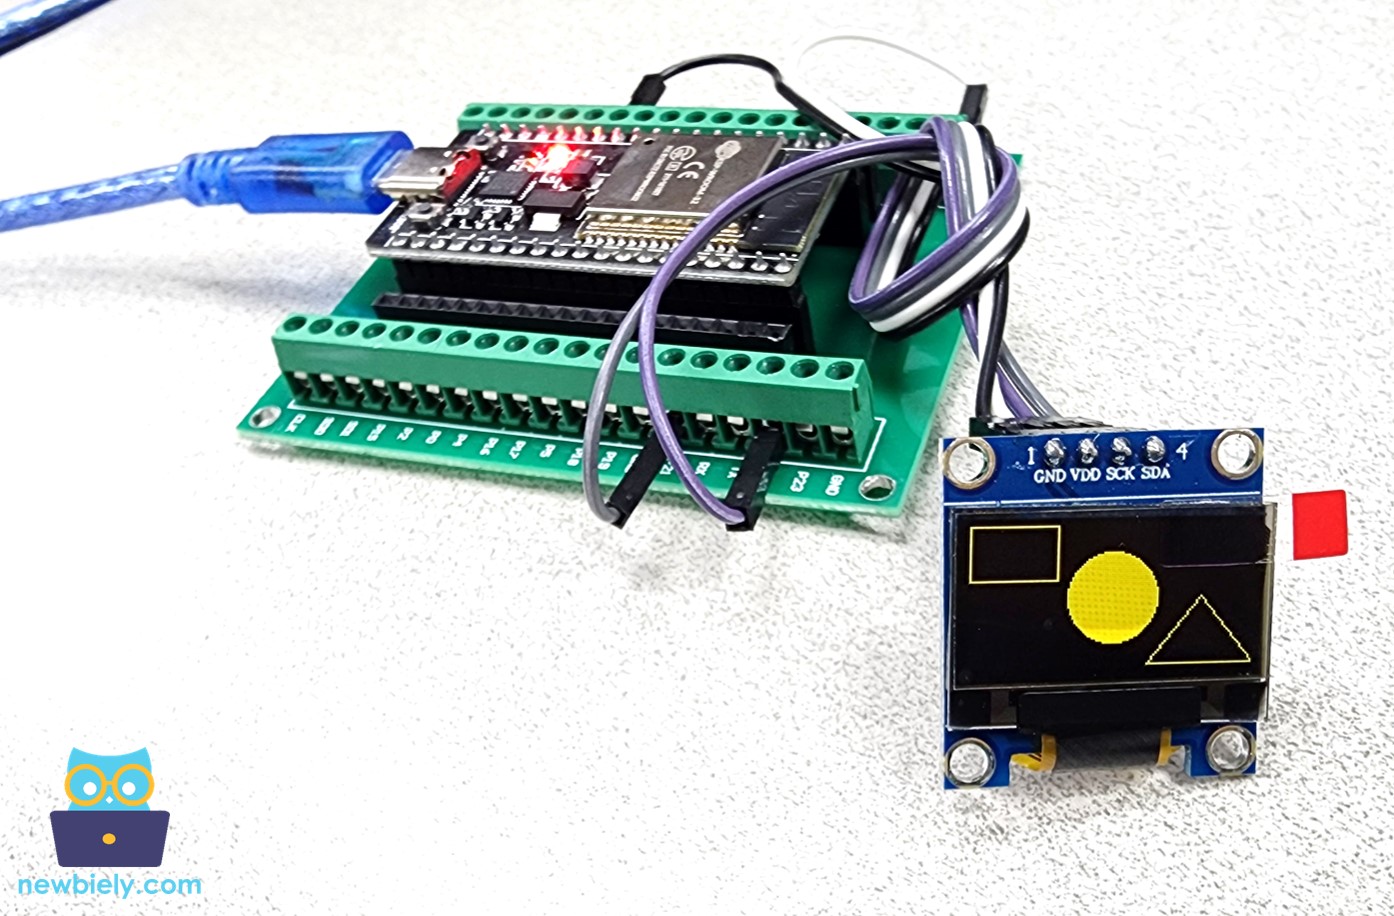
Verdrahtungsdiagramm
- Wie man den ESP32 mit einem OLED-Display 128×64 über ein Breadboard anschließt Breadboard
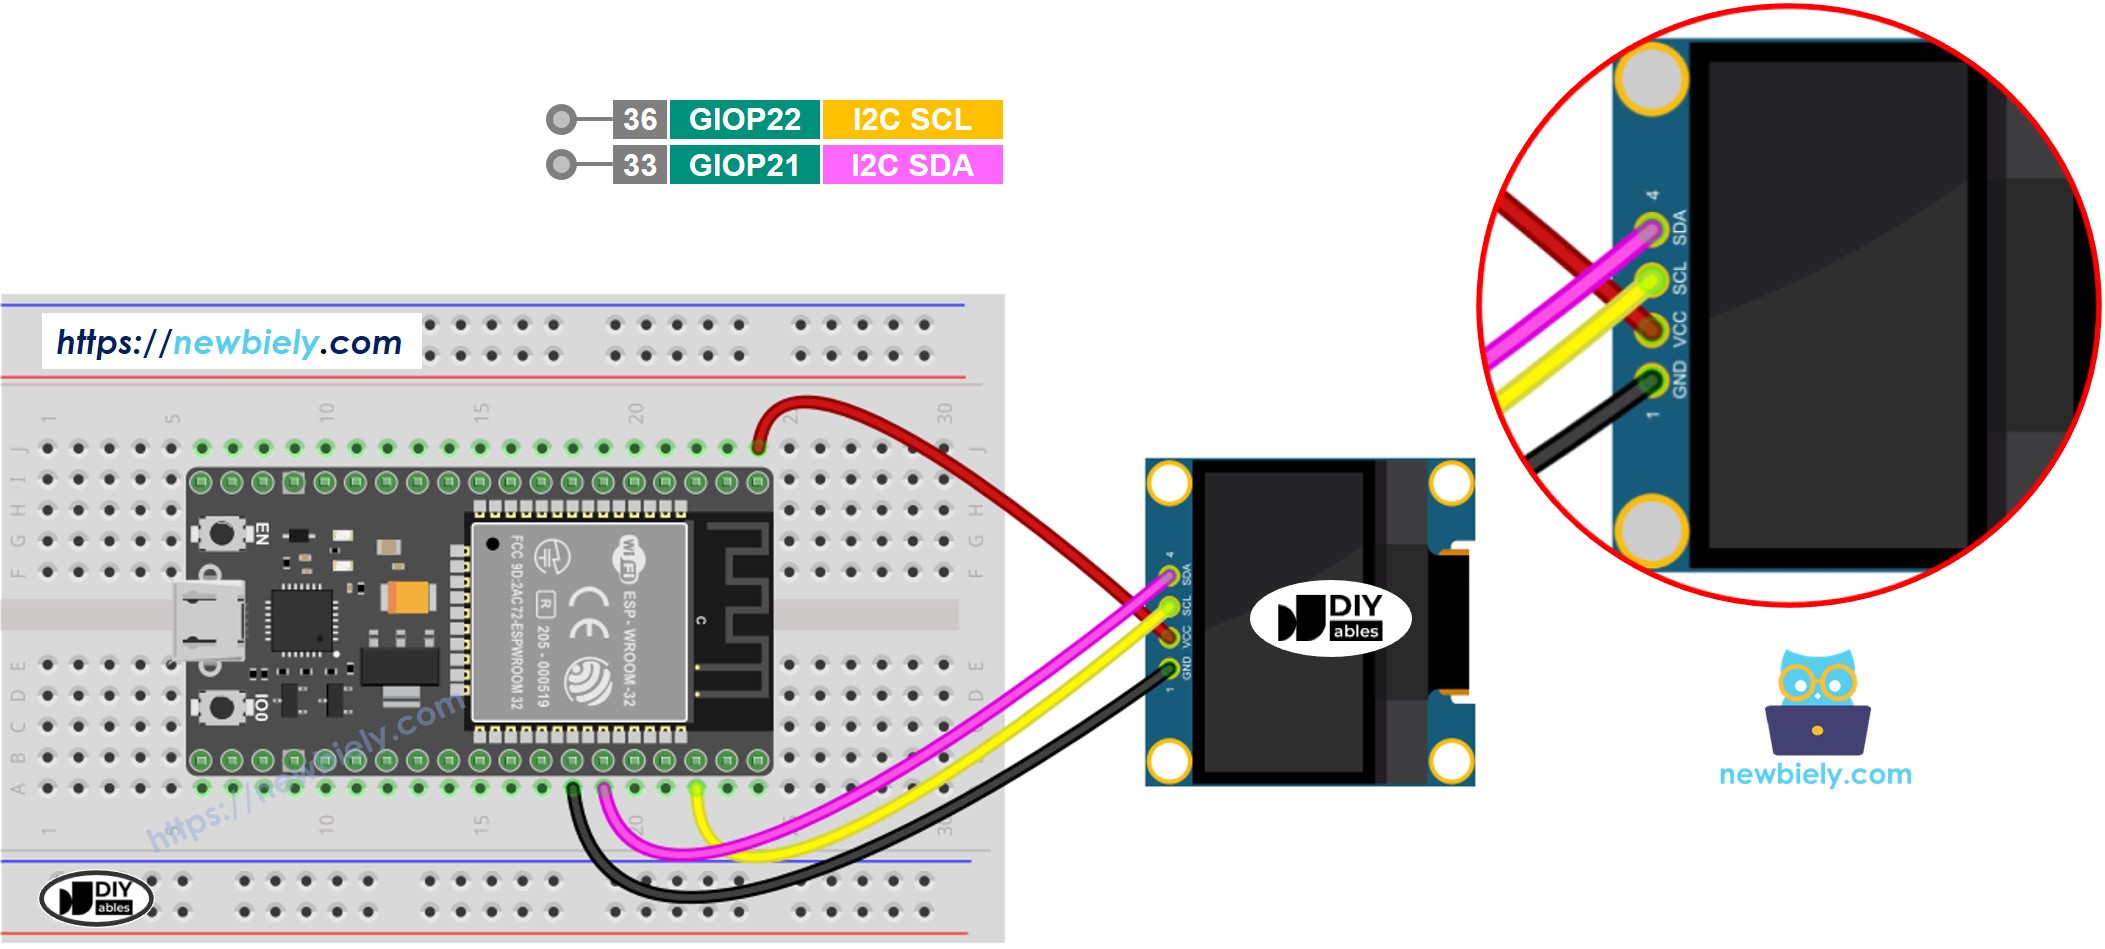
Dieses Bild wurde mit Fritzing erstellt. Klicken Sie, um das Bild zu vergrößern.
Wenn Sie nicht wissen, wie Sie ESP32 und andere Komponenten mit Strom versorgen, finden Sie Anleitungen im folgenden Tutorial: Wie man ESP32 mit Strom versorgt.
- So verbinden Sie den ESP32 mit dem OLED-Display 128×64 mithilfe eines Schraubklemmen-Block-Breakout-Boards (LINK_MAIN_ESP32_SCREW_TERMINAL)
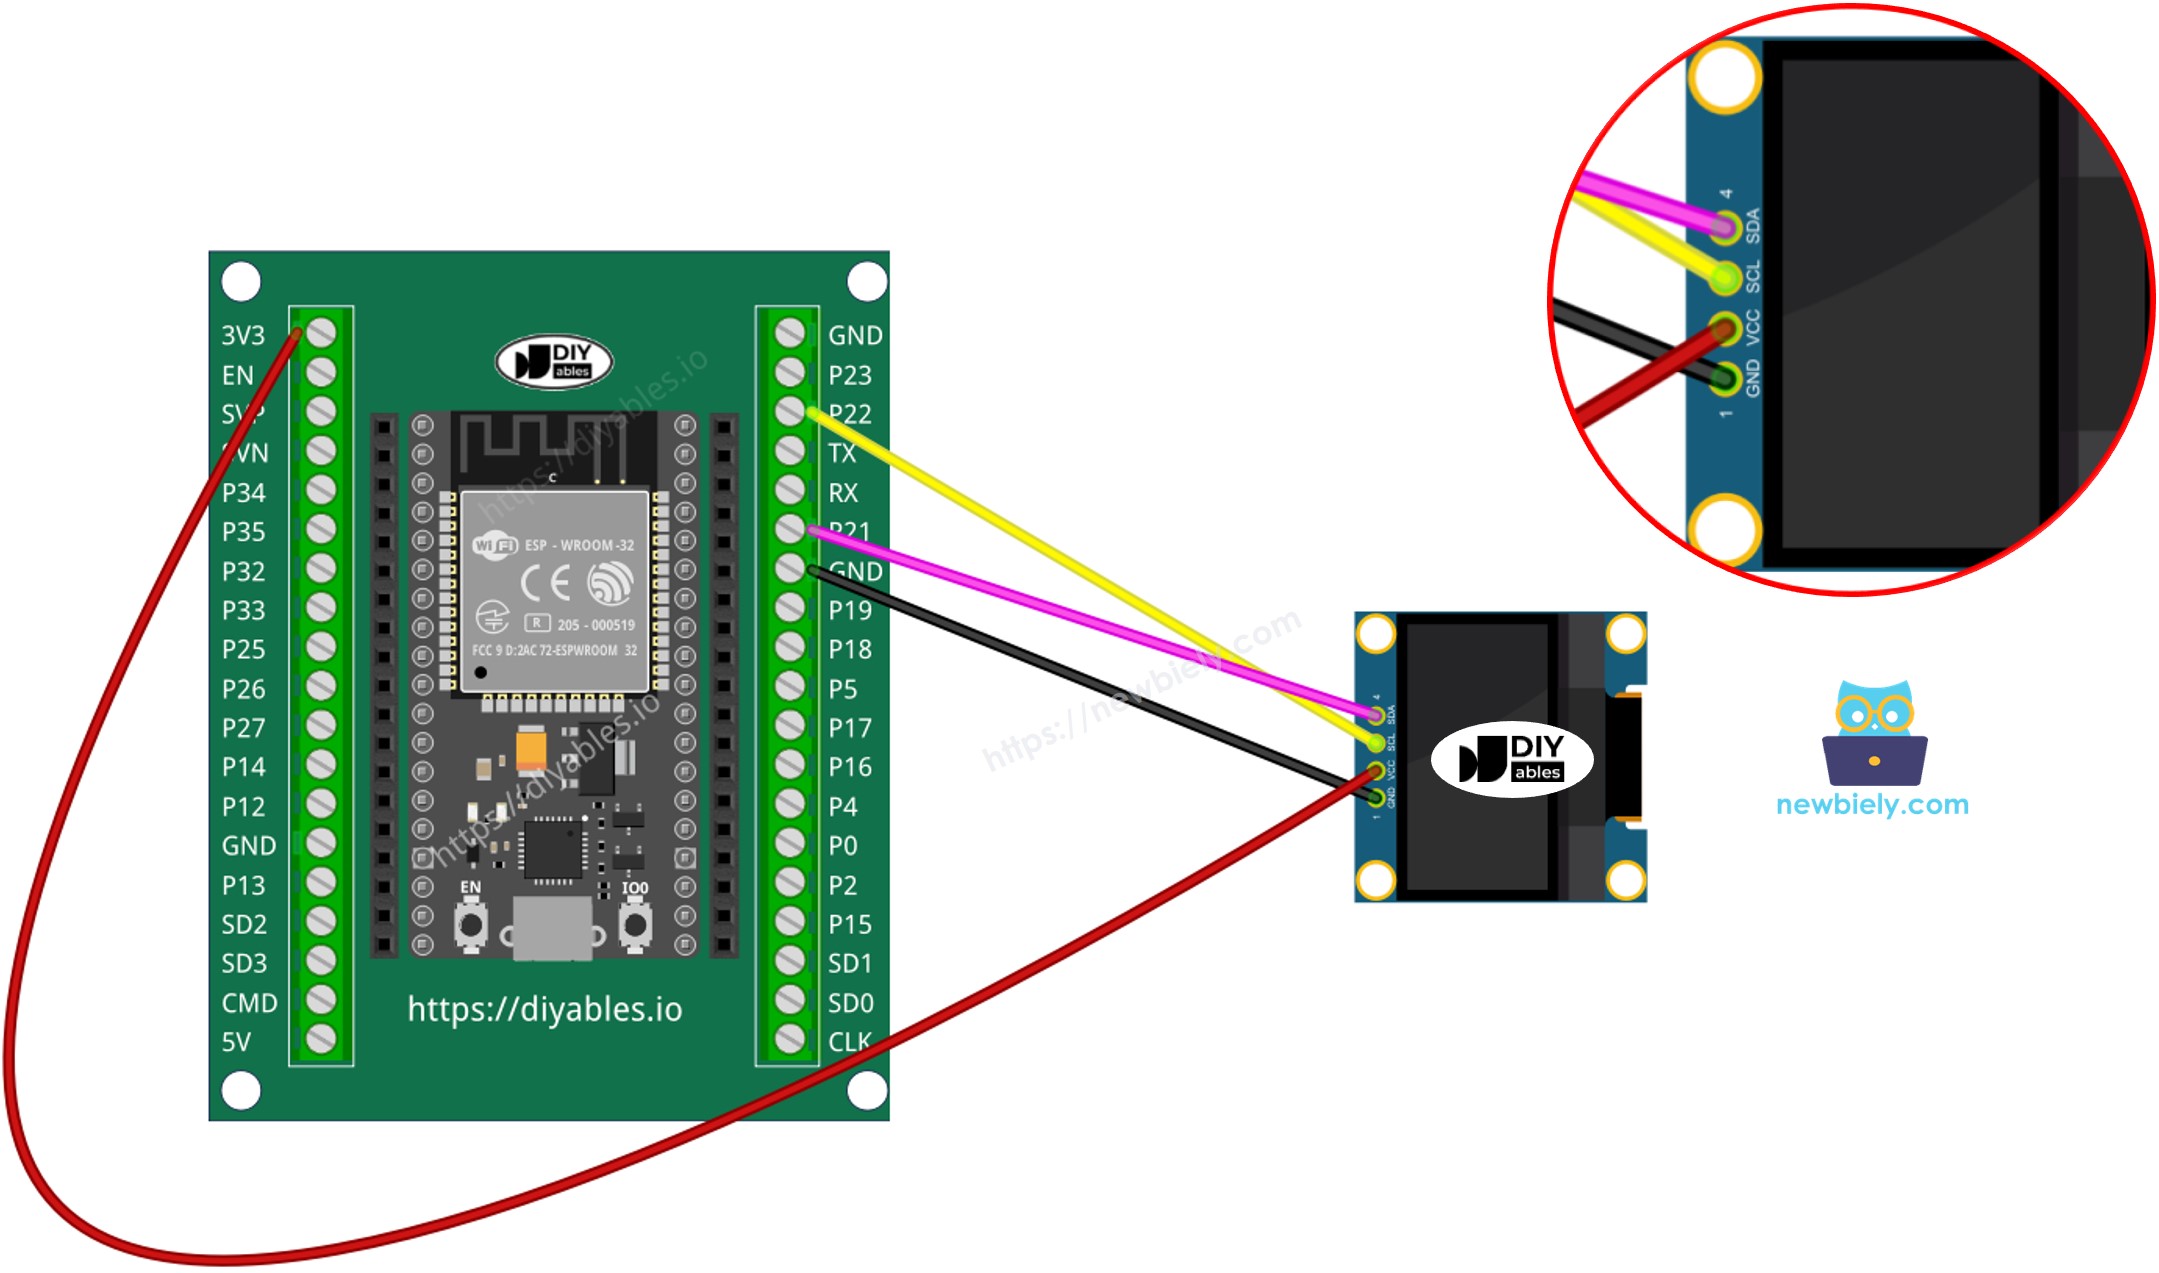
※ Notiz:
- Die Pin-Belegung des OLED-Moduls kann von Hersteller zu Hersteller variieren. Verwenden Sie IMMER die auf dem OLED-Modul aufgedruckten Beschriftungen. Schauen Sie genau hin!
So verwenden Sie OLED mit ESP32
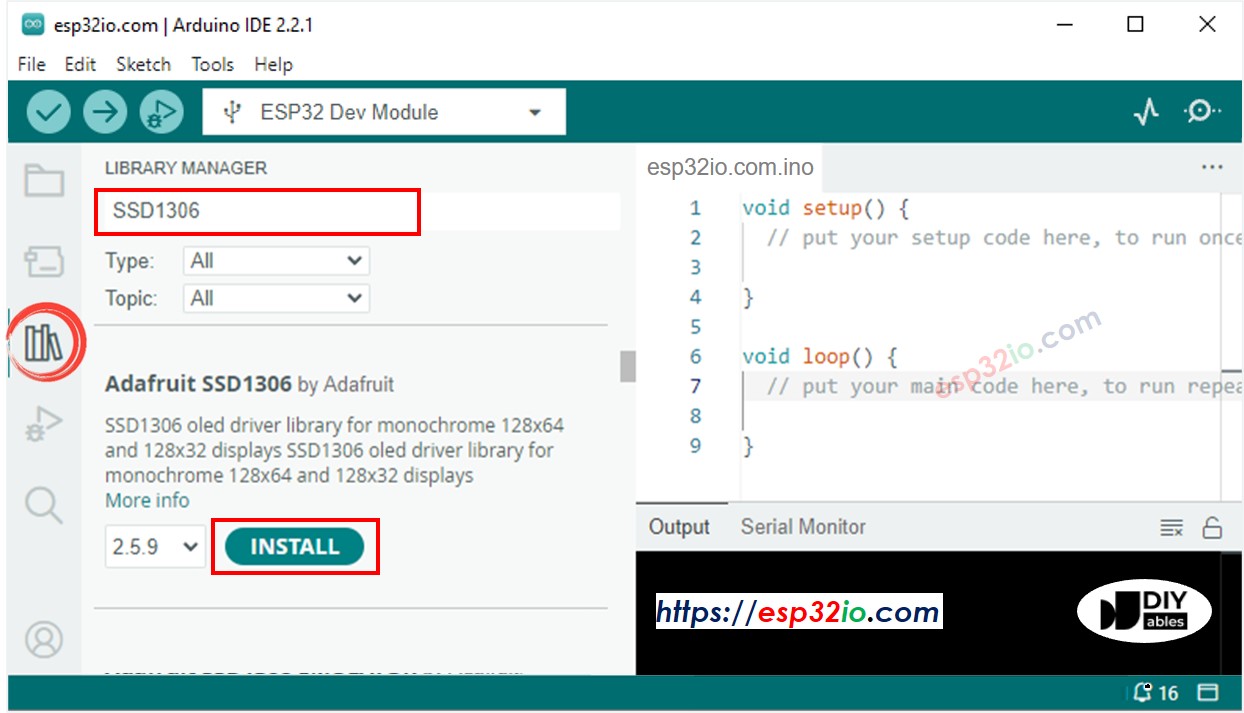
SSD1306 OLED-Bibliothek installieren
- Klicken Sie auf das Bibliotheken-Symbol in der linken Leiste der Arduino IDE.
- Geben Sie im Suchfeld SSD1306 ein, und suchen Sie dann nach der SSD1306-Bibliothek von Adafruit
- Installieren Sie die Bibliothek, indem Sie auf die Schaltfläche Installieren klicken.
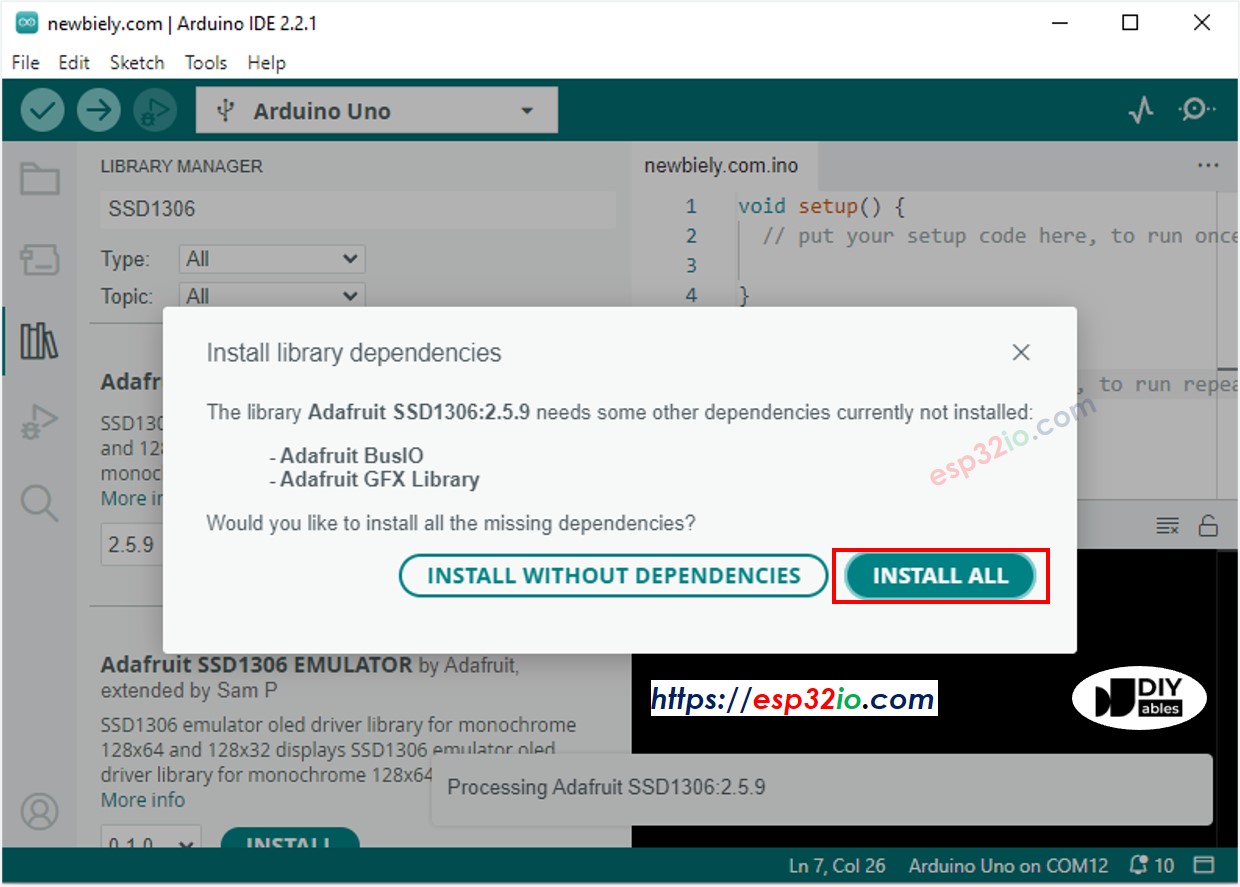
- Es erscheint ein Fenster, das Sie auffordert, Abhängigkeiten für die Bibliothek zu installieren
- Installieren Sie alle Abhängigkeiten für die Bibliothek, indem Sie auf die Schaltfläche Alle installieren klicken.
Wie programmiert man für OLED
- Bibliothek einbinden
- Definieren Sie die Bildschirmgröße (123x64 oder 128 x32)
- Deklariere ein SSD1306 OLED-Objekt
- In der setup()-Funktion das OLED-Display initialisieren
- Und dann können Sie Text anzeigen, Bilder anzeigen, eine Linie zeichnen ...
ESP32-Code - Text auf dem OLED-Display anzeigen
Der untenstehende ESP32-Code zeigt einen Text auf dem OLED-Display.
Wir können mehr tun, indem wir die folgenden Funktionen verwenden:
- oled.clearDisplay(): Diese Funktion wird verwendet, um das Display zu löschen.
- oled.setTextSize(n): Diese Funktion wird verwendet, um die Schriftgröße festzulegen; unterstützt Werte von 1 bis 8.
- oled.setTextColor(WHITE): Diese Funktion wird verwendet, um die Textfarbe festzulegen.
- oled.setCursor(x,y): Diese Funktion wird verwendet, um die Koordinaten festzulegen, an denen der Text angezeigt werden soll.
- oled.drawPixel(x,y, color): Diese Funktion dient dazu, ein Pixel an den x,y-Koordinaten zu zeichnen.
- oled.setTextColor(BLACK, WHITE): Diese Funktion dient dazu, die Textfarbe und die Hintergrundfarbe festzulegen.
- oled.println("message"): Diese Funktion dient dazu, eine Zeichenkette auszugeben.
- oled.println(number): Diese Funktion dient dazu, eine Zahl auszugeben.
- oled.println(number, HEX): Diese Funktion dient dazu, eine Zahl im Hex-Format auszugeben.
- oled.display(): Diese Funktion wird verwendet, um die Änderungen anzuwenden.
- oled.startscrollright(start, stop): Diese Funktion dient dazu, Text von links nach rechts scrollen zu lassen.
- oled.startscrollleft(start, stop): Diese Funktion dient dazu, Text von rechts nach links scrollen zu lassen.
- oled.startscrolldiagright(start, stop): Diese Funktion dient dazu, Text von der unteren linken Ecke zur oberen rechten Ecke zu scrollen.
- oled.startscrolldiagleft(start, stop): Diese Funktion dient dazu, Text von der unteren rechten Ecke zur oberen linken Ecke zu scrollen.
- oled.stopscroll(): Diese Funktion dient dazu, das Scrollen zu stoppen.
ESP32-Code - Zeichnen von Formen auf dem OLED-Display
Der folgende Code zeigt, wie man mehrere Formen auf dem OLED zeichnet.
Nachdem Sie den Code ausgeführt haben, sehen Sie ein Rechteck, einen Kreis und ein Dreieck auf dem OLED-Bildschirm.
ESP32-Code – Bild auf OLED anzeigen
Um ein Bild auf einem OLED-Display anzuzeigen, muss das Bild in ein Bitmap-Array konvertiert werden. Es gibt ein Online-Tool, um das Bild in ein Bitmap-Array zu konvertieren. Das folgende Bild zeigt, wie man es macht. Ich habe das ESP32-Icon in ein Bitmap-Array konvertiert.
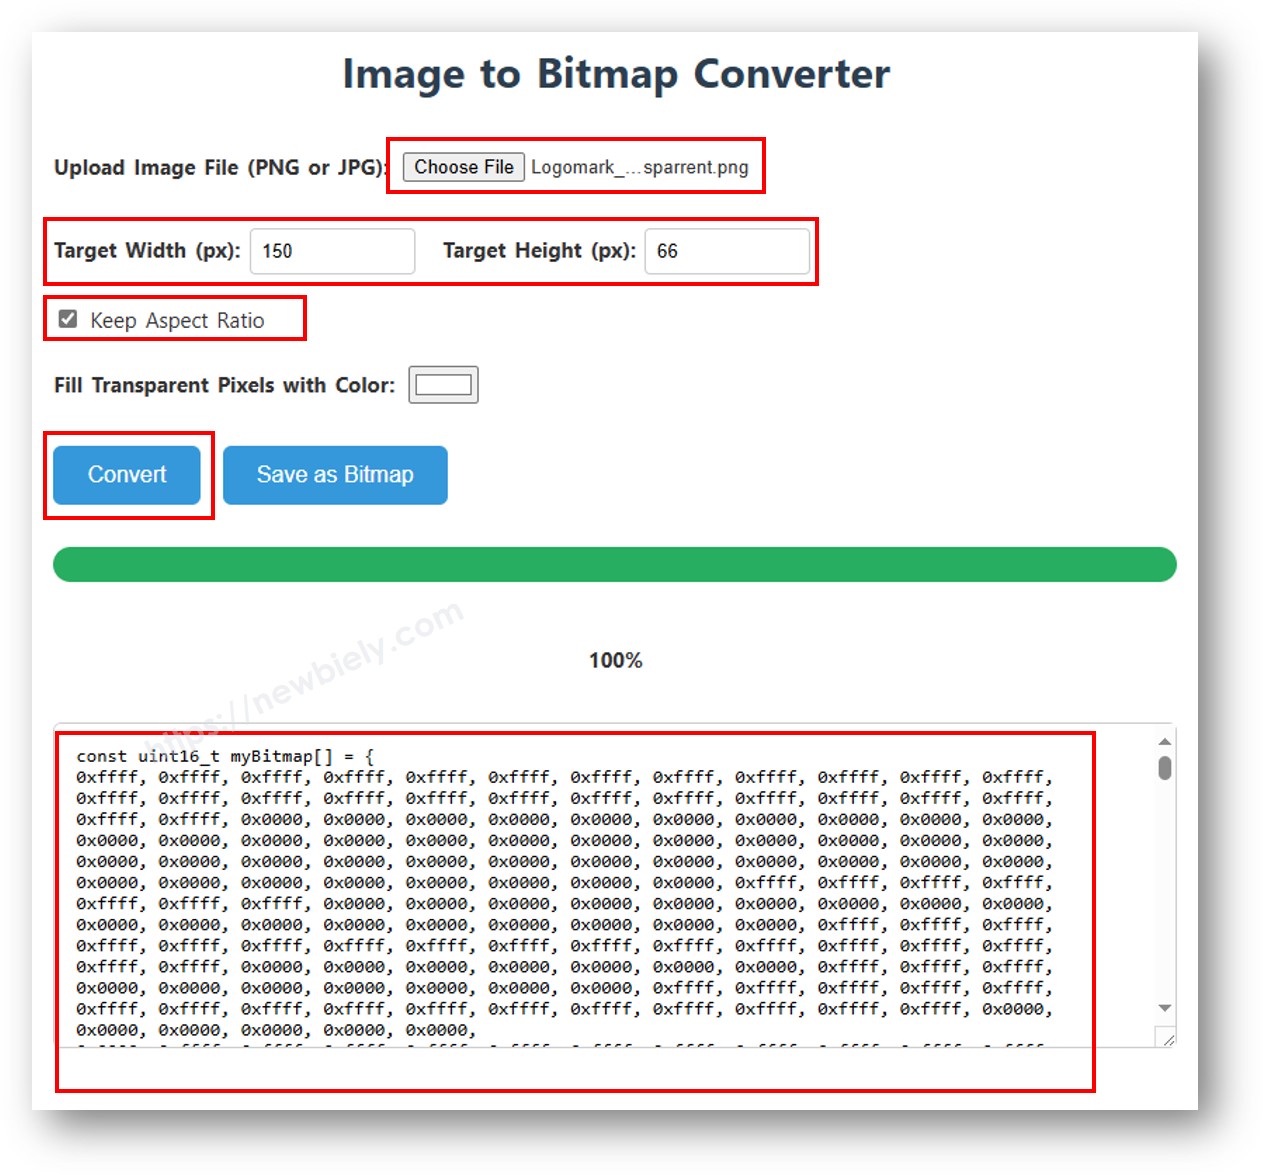
Nach dem Konvertieren kopieren Sie den Array-Code und aktualisieren Sie ihn im bitmap_image-Array im folgenden Code:
Wenn Sie den obigen Code ausführen, wird das Bild auf dem OLED angezeigt, wie unten gezeigt.
OLED-Fehlerbehebung
Siehe OLED-Fehlerbehebung