Arduino - OLED
Der OLED-Bildschirm (Organische Leuchtdiode) ist eine Alternative zum LCD-Display. Das OLED ist ultraleicht, nahezu papierdünn, flexibel und erzeugt ein helleres und schärferes Bild.
In diesem Tutorial werden wir lernen:
- Wie man das OLED-Display mit Arduino verwendet.
- Wie man Text und Zahl auf dem OLED mit Arduino anzeigt.
- Wie man Text und Zahl vertikal und horizontal zentriert auf dem OLED ausrichtet.
- Wie man auf dem OLED mit Arduino zeichnet.
- Wie man ein Bild auf dem OLED mit Arduino anzeigt.
Erforderliche Hardware
Oder Sie können die folgenden Kits kaufen:
| 1 | × | DIYables STEM V3 Starter-Kit (Arduino enthalten) | |
| 1 | × | DIYables Sensor-Kit (18 Sensoren/Displays) |
Kaufhinweis: Wenn Sie ein größeres OLED-Display möchten, verwenden Sie das 2.42 inch OLED Display 128x64.
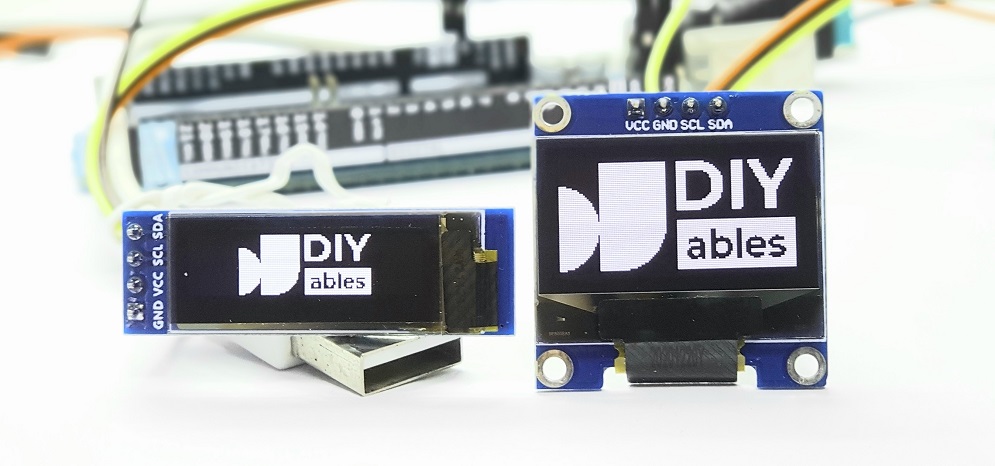
Über das OLED-Display
Es gibt viele Arten von OLED-Displays. Sie unterscheiden sich voneinander in der Kommunikationsschnittstelle, in den Größen und in den Farben:
- Kommunikationsschnittstelle: I2C, SPI
- Größe: 128×64, 128×32...
- Farbe: weiß, blau, zweifarbig...
SPI ist im Allgemeinen schneller als I2C, erfordert jedoch mehr Arduino-Pins. Während I2C nur zwei Pins benötigt und mit anderen I2C-Peripheriegeräten geteilt werden kann. Es ist ein Kompromiss zwischen Pins und Übertragungsgeschwindigkeit. Die Wahl liegt bei Ihnen. Für OLEDs mit I2C-Schnittstelle gibt es mehrere Treiber, wie SSD1306- und SH1106-Treiber. Dieses Tutorial verwendet das SSD1306 I2C OLED-Display 128x64 und 128x32.
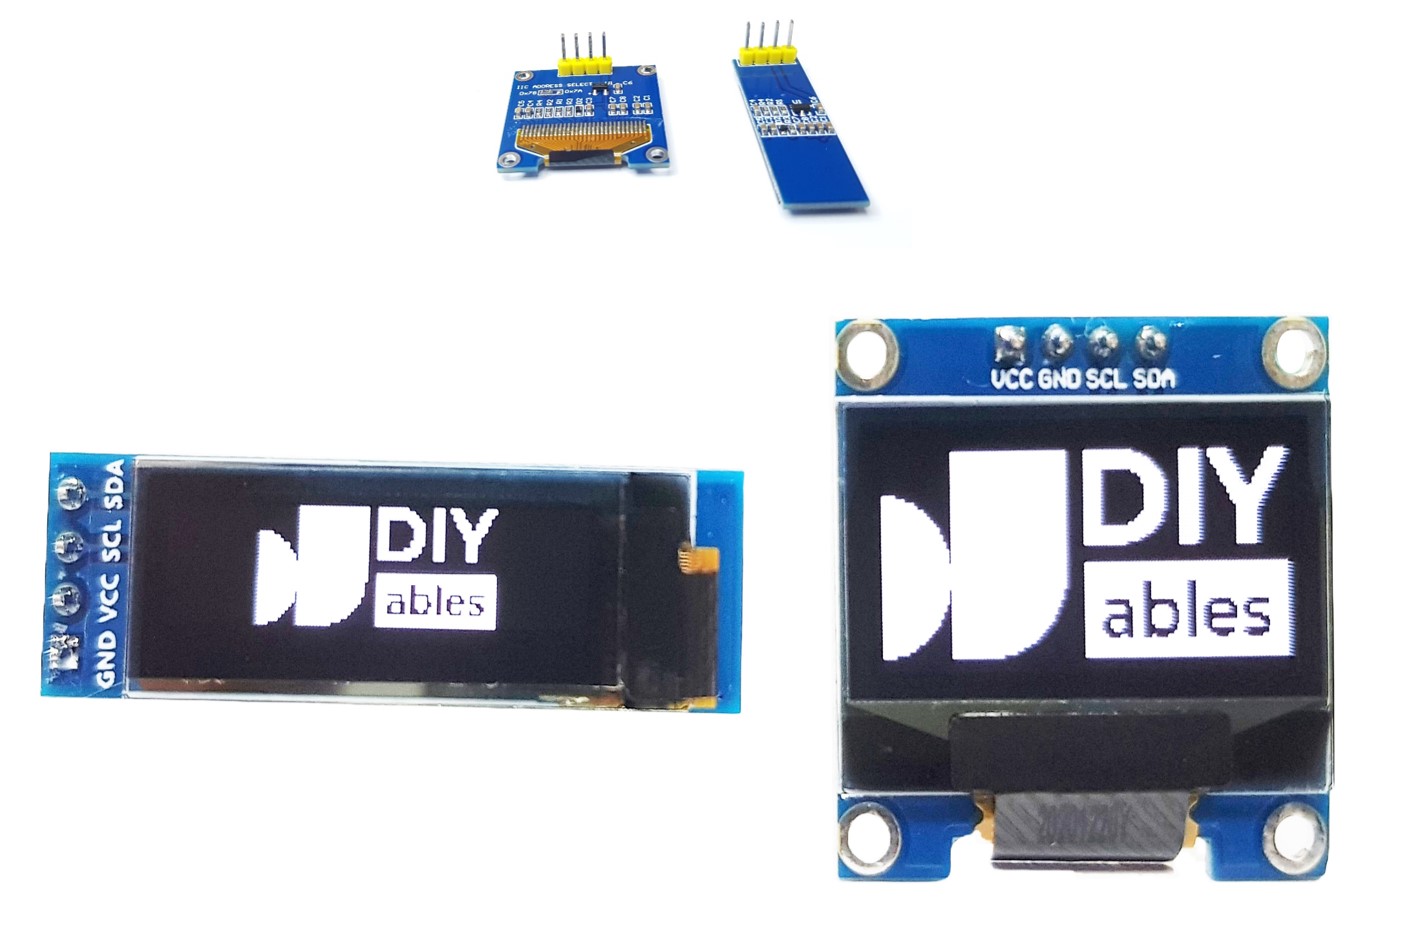
Pinbelegung des I2C-OLED-Displays
- GND-Pin: sollte mit der Masse des Arduino verbunden werden.
- VCC-Pin: ist die Stromversorgung für das Display, mit der wir den 5-Volt-Pin am Arduino verbinden.
- SCL-Pin: ist ein serieller Taktpin für die I2C-Schnittstelle.
- SDA-Pin: ist ein serieller Datenpin für die I2C-Schnittstelle.
※ Notiz:
- Die Reihenfolge der Pins des OLED-Moduls kann zwischen Herstellern und Modultypen variieren. VERWENDEN SIE IMMER die auf dem OLED-Modul aufgedruckten Bezeichnungen. Schauen Sie genau hin!
- Dieses Tutorial verwendet ein OLED-Display, das den SSD1306 I2C-Treiber nutzt. Wir haben es mit dem OLED-Display von DIYables getestet. Es funktioniert ohne Probleme.
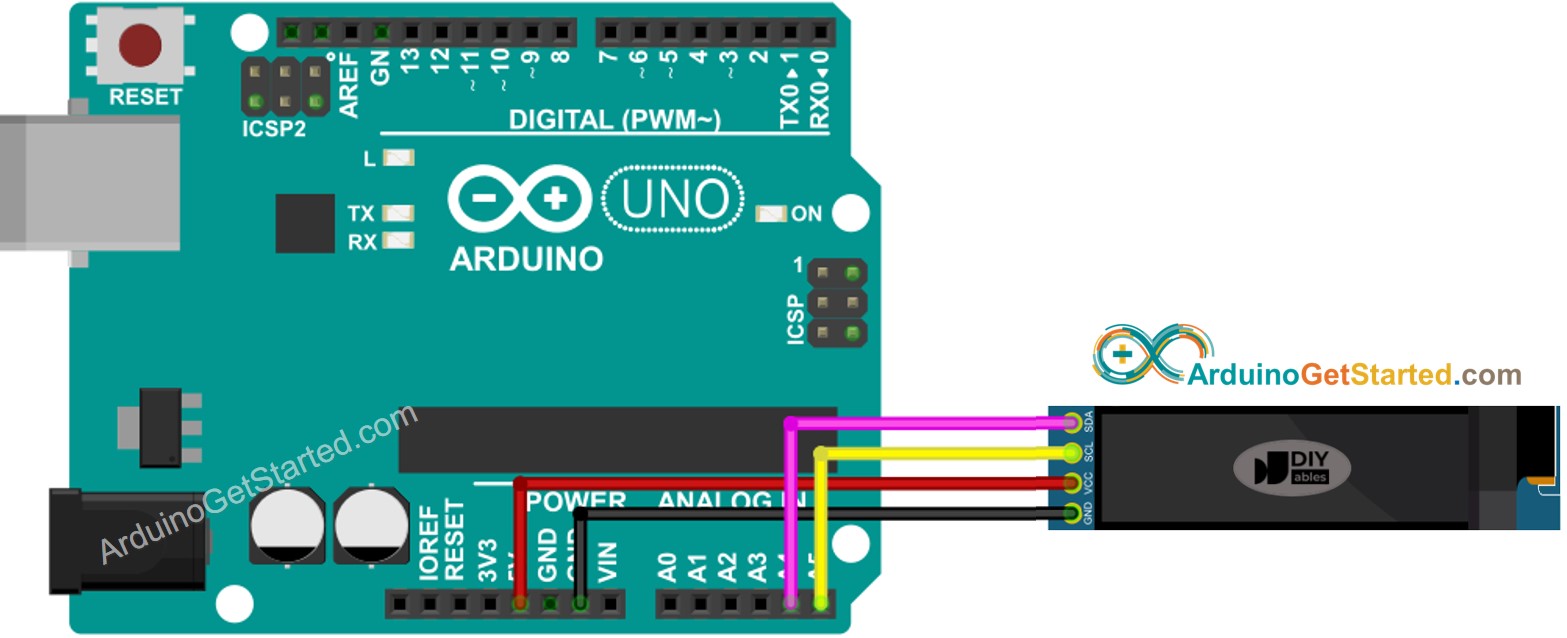
Verdrahtungsdiagramm
- Verdrahtungsdiagramm zwischen Arduino und OLED 128x64

Dieses Bild wurde mit Fritzing erstellt. Klicken Sie, um das Bild zu vergrößern.
- Verdrahtungsdiagramm zwischen Arduino und OLED 128x32
Dieses Bild wurde mit Fritzing erstellt. Klicken Sie, um das Bild zu vergrößern.
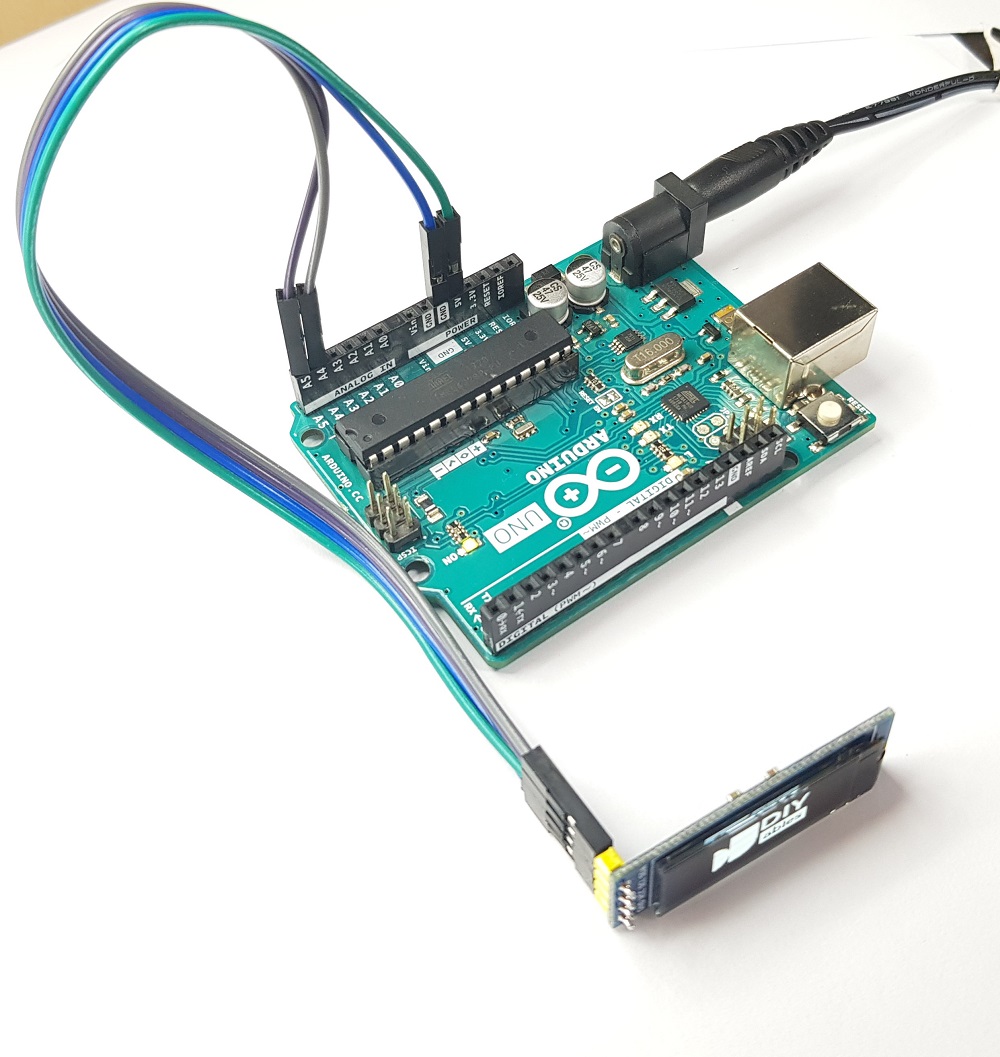
- Der echte Schaltplan zwischen Arduino und OLED 128x64
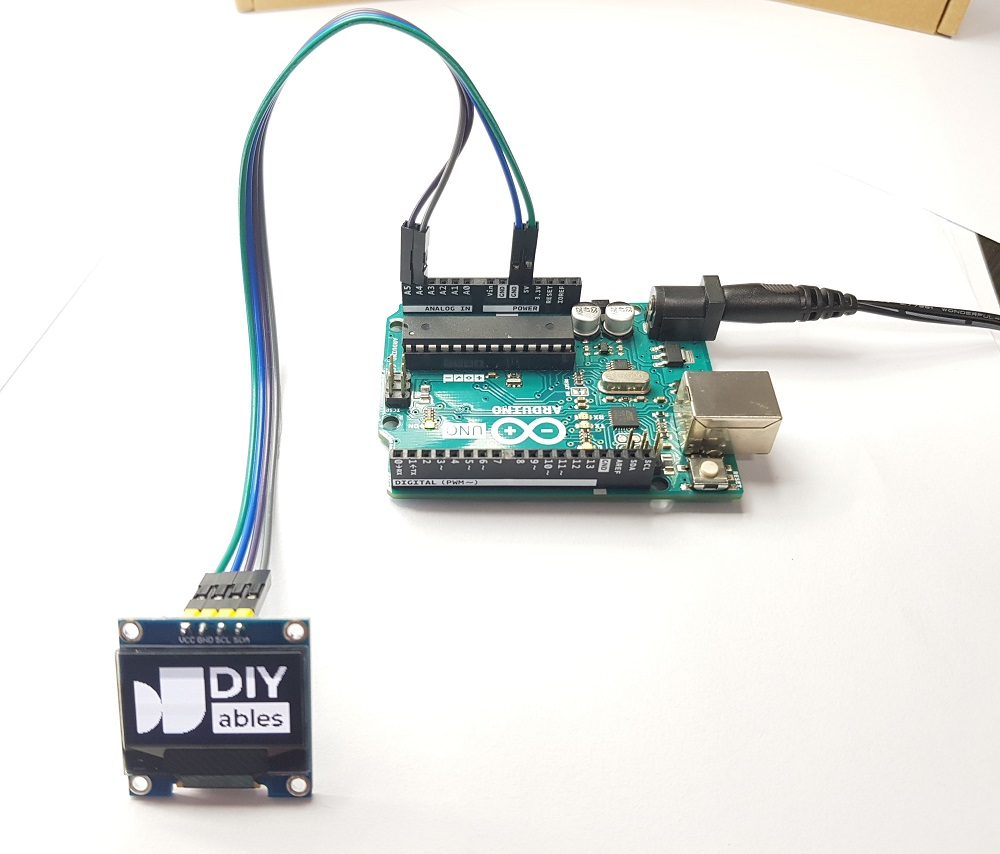
Dieses Bild wurde mit Fritzing erstellt. Klicken Sie, um das Bild zu vergrößern.
- Der tatsächliche Schaltplan zwischen Arduino und OLED 128x32
Dieses Bild wurde mit Fritzing erstellt. Klicken Sie, um das Bild zu vergrößern.
Wenn Sie andere Arduino-Modelle als den Uno verwenden, sind die Pins unterschiedlich. Siehe untenstehende Tabelle für andere Arduino-Modelle.
| OLED Module | Arduino Uno, Nano | Arduino Mega |
|---|---|---|
| Vin | 5V | 5V |
| GND | GND | GND |
| SDA | A4 | 20 |
| SCL | A5 | 21 |
Wie man OLED mit Arduino verwendet
SSD1306 OLED-Bibliothek installieren
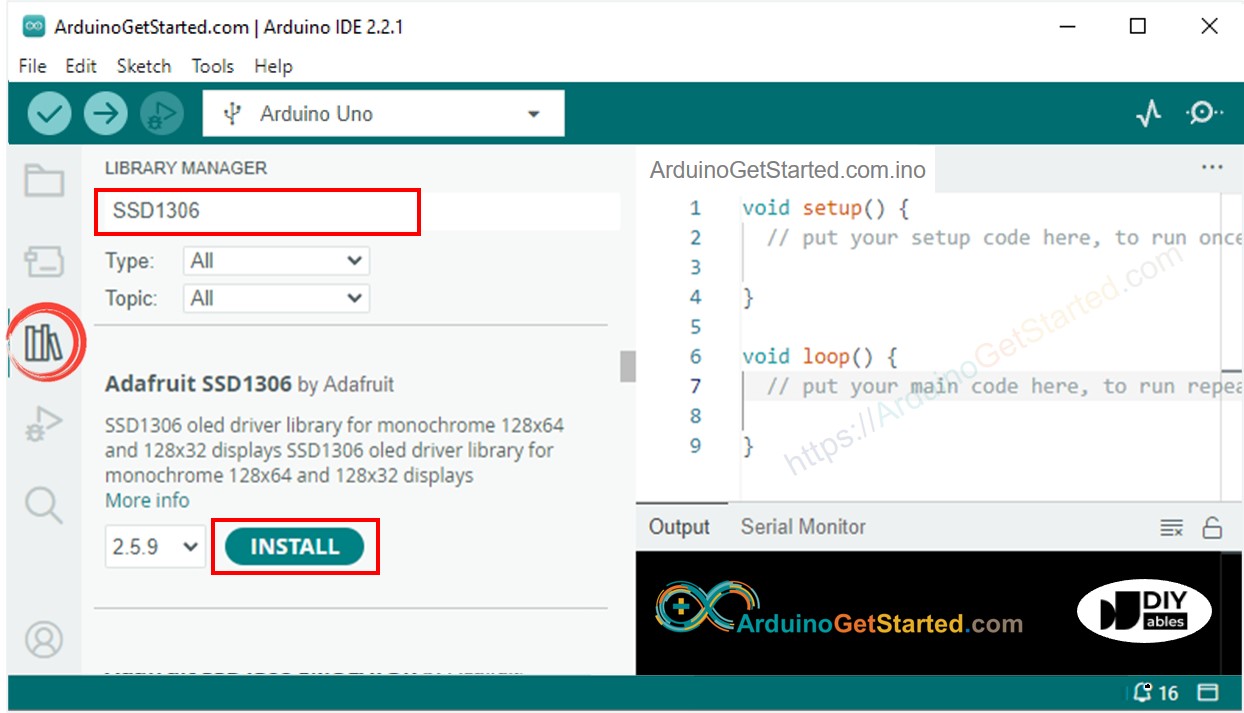
- Navigieren Sie zum Bibliotheken-Symbol in der linken Leiste der Arduino-IDE.
- Suchen Sie „SSD1306“, dann finden Sie die SSD1306-Bibliothek von Adafruit
- Klicken Sie auf die Schaltfläche Installieren, um die Bibliothek zu installieren.
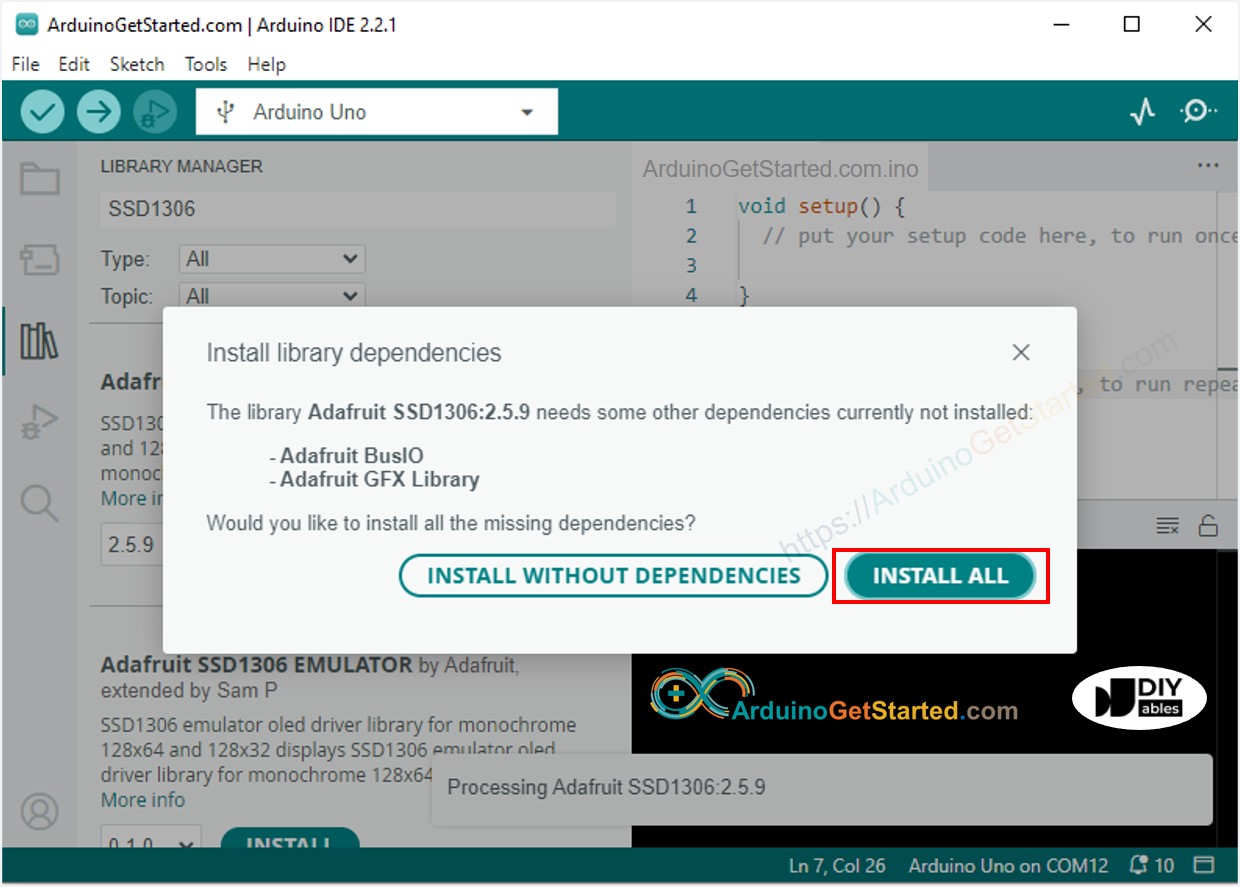
- Sie werden aufgefordert, weitere Bibliotheksabhängigkeiten zu installieren.
- Klicken Sie auf die Install All-Schaltfläche, um alle Bibliotheksabhängigkeiten zu installieren.
So programmiert man für OLED
- Bibliothek einbinden
- Bestimme die Bildschirmgröße, falls OLED 123×64
- Definiere die Bildschirmgröße, falls es sich um OLED 128×32 handelt
- Deklariere ein SSD1306-OLED-Objekt
- In der setup()-Funktion das OLED-Display initialisieren
- Und dann können Sie Text, Bilder anzeigen, eine Linie zeichnen ...
※ Notiz:
Ab diesem Punkt werden alle Codes für OLED 128x64 bereitgestellt, aber Sie können sie leicht auf OLED 128x32 anpassen, indem Sie die Bildschirmgröße ändern und bei Bedarf die Koordinaten anpassen.
Arduino-Code - Text auf OLED anzeigen
Die unten aufgeführten Funktionen können verwendet werden, um Text auf dem OLED anzuzeigen:
- oled.clearDisplay(): alle Pixel sind ausgeschaltet
- oled.drawPixel(x,y, color): zeichnet einen Pixel an den Koordinaten x,y
- oled.setTextSize(n): Stellt die Schriftgröße ein, unterstützt Größen von 1 bis 8
- oled.setCursor(x,y): Legt die Koordinaten fest, an denen Text geschrieben wird
- oled.setTextColor(WHITE): Setzt die Textfarbe
- oled.setTextColor(BLACK, WHITE): Setzt die Textfarbe, Hintergrundfarbe
- oled.println(“Nachricht”): Druckt die Zeichen aus
- oled.println(number): Druckt eine Zahl aus
- oled.println(number, HEX): Druckt eine Zahl im HEX-Format aus
- oled.display(): Rufen Sie diese Methode auf, damit die Änderungen wirksam werden
- oled.startscrollright(start, stop): Scrollt Text von links nach rechts
- oled.startscrollleft(start, stop): Scrollt Text von rechts nach links
- oled.startscrolldiagright(start, stop): Scrollt Text von der linken unteren Ecke zur rechten oberen Ecke
- oled.startscrolldiagleft(start, stop): Scrollt Text von der rechten unteren Ecke zur linken oberen Ecke
- oled.stopscroll(): Stoppt das Scrollen
Wie man Text/Zahl vertikal und horizontal auf einem OLED-Display zentriert
Siehe Wie man Text vertikal und horizontal auf dem OLED zentriert
Arduino-Code – Zeichnen auf dem OLED-Display
Arduino-Code – Bild anzeigen
Um ein Bild auf dem OLED-Display darzustellen, müssen wir das Bild (in jedem Format) zuerst in ein Bitmap-Array konvertieren. Die Umwandlung kann mit diesem Image to Bitmap Converter Online-Tool durchgeführt werden. Bitte sehen Sie sich im unten gezeigten Bild an, wie man ein Bild in ein Bitmap-Array konvertiert. Ich habe das Arduino-Symbol in ein Bitmap-Array konvertiert.
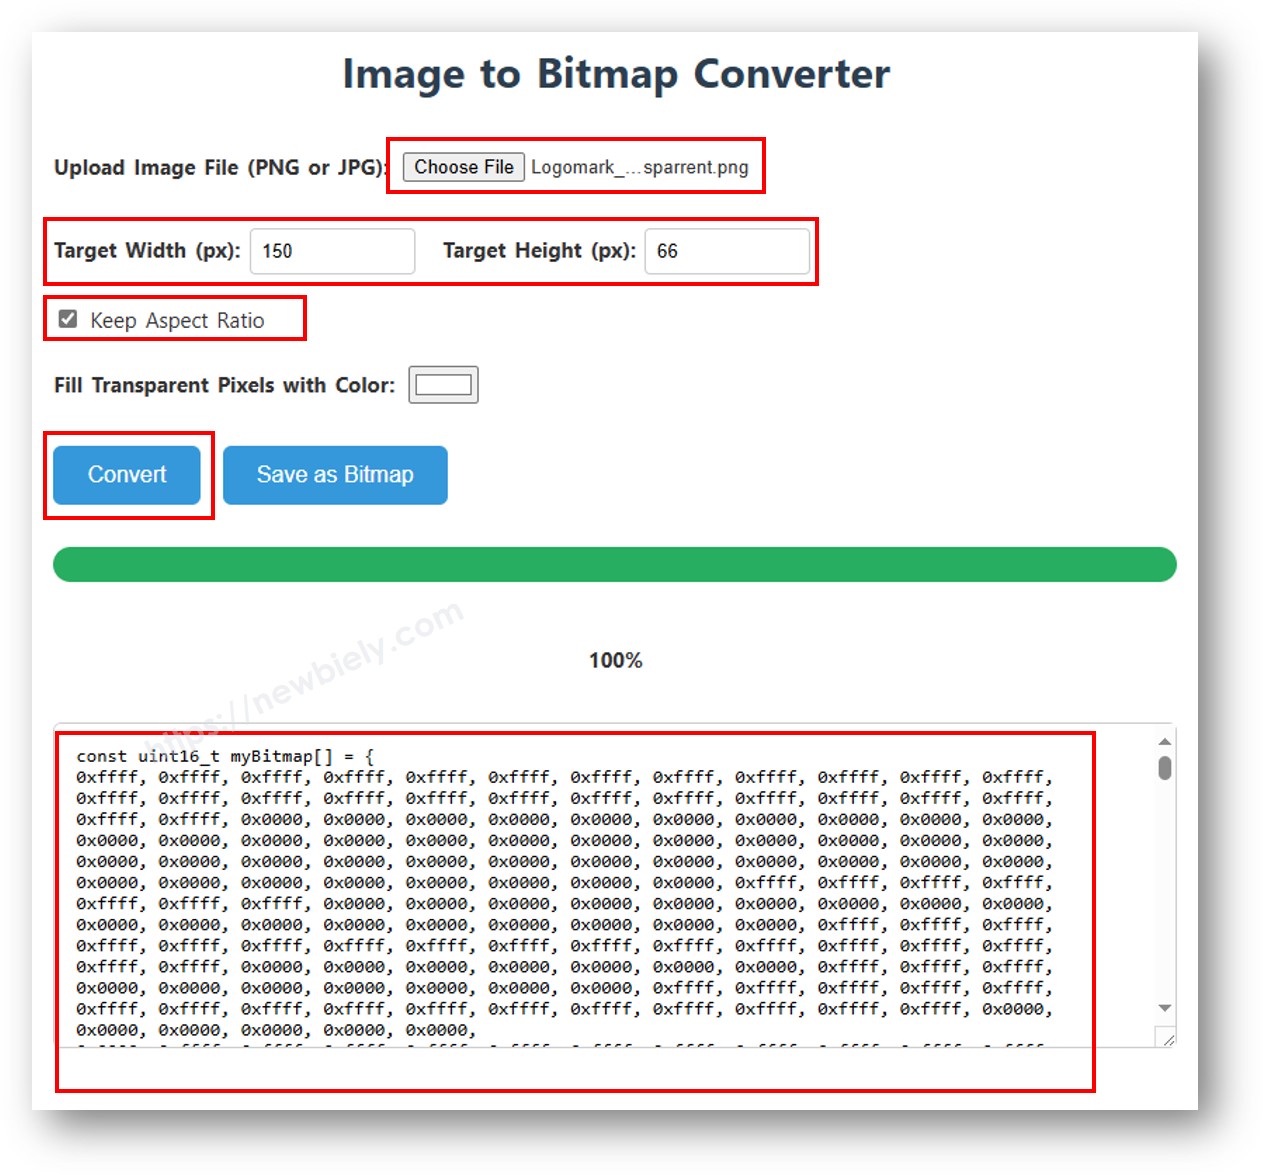
Nach der Konvertierung kopieren Sie den Array-Code und aktualisieren Sie ihn im ArduinoIcon-Array im untenstehenden Code.
※ Notiz:
- Die Bildgröße sollte kleiner oder gleich der Bildschirmgröße sein.
- Wenn Sie den obigen Code für OLED-Auflösung 128×32 anpassen möchten, müssen Sie das Bild neu skalieren und Breite und Höhe in der Funktion oled.drawBitmap(); ändern.
OLED-Fehlerbehebung
Wenn das OLED nichts anzeigt, führen Sie bitte die folgende Checkliste durch:
- Stellen Sie sicher, dass Ihre Verkabelung korrekt ist.
- Stellen Sie sicher, dass Ihr I2C-OLED den SSD1306-Treiber verwendet.
- Überprüfen Sie die I2C-Adresse des OLEDs, indem Sie den untenstehenden I2C-Adressen-Scanner-Code auf dem Arduino ausführen.
Das Ergebnis auf dem seriellen Monitor: